Transforming PSD layers with self-referencing variable
Last updated: Jan-20-2026
This article provides a quick way to transform layers of a PSD asset by using a self-referencing variable. More details on self-referencing variables can be found in Self-referencing variables.
We can use the self-referencing variable current ($img_current in URLs) to refer to the current image being delivered. In this case, it's referring to the pixel buffer; however, we could extract the public_id of the image by doing the following $img_current:public_id. We will demonstrate how to use the latter approach to transform a particular layer of the PSD.
We will be referring to the following PSD asset:

When dealing with multi-layered PSD assets, the page parameter (pg_ within URLs) allows referring to a specific layer in the context of transformation.
When using this flag, pg_1 will show all the layers together, pg_2 will only show the first layer, pg_3 will show the next layer, and so on. All layers are also shown by default when omitting the page parameter completely.
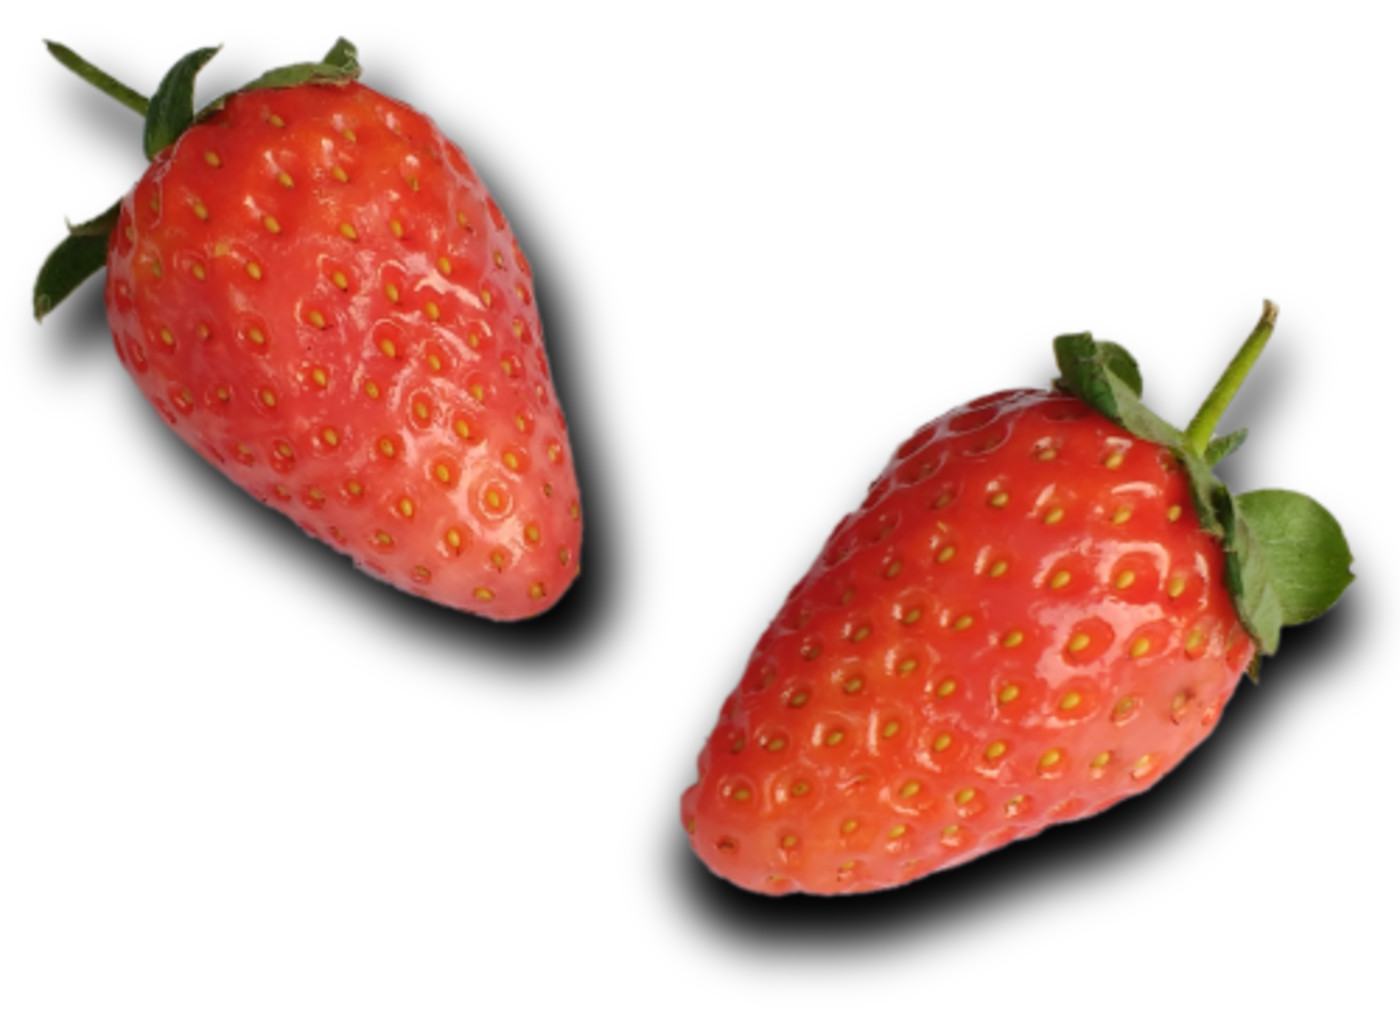
In the example above, we will be only using layer 2 (the shadow lower right-hand corner) and layer 3 (the strawberry in the lower right-hand corner). We will adjust the shadow layer to a different color for dramatic effect using a self-referencing variable. Here are the chained transformations we plan to do:
-
$img_current:public_id/- Store the public_id of the image into a self-referencing variable called $img
-
pg_3-3,w_500/- Extract only the layer with the strawberry located in the lower right-hand corner.
- Adjust the
widthto 500 but maintain the same aspect ratio
-
u_$img,pg_2-2,e_colorize:50,co_red/-
Underlay the same PSD using the self-reference variable $img (
u_$imgin URL). - Select only the second layer or
pageof that PSD, the shadow. (pg_2-2in URL). - Use the
effectparameter withcolorizeand adjust the strength of the color by appending a semi-colon with a value (e_colorize:50in URL). - Select the parameter
colorto colorize the shadow (co_red). - Lastly, adjust the
widthto 500.
-
Underlay the same PSD using the self-reference variable $img (
The end result:

This is amazing! But the true appreciation for this feature has just begun. The real benefit is to be able to include the above transformation in a named transformation and pass the public_id dynamically. We can create a named transformation via the Admin API (e.g. Ruby) like so:
Now we can replace $img_current:public_id/pg_3-3,w_500/u_$img,pg_2-2,e_colorize:50,co_red,w_500/f_jpg with the named transformation parameter called shadow_color (t_shadow_color in URL) and voila!

 Ask AI