 Ask AI
Analyze assets
Last updated: Jul-24-2026
When uploading assets to your Cloudinary product environment, you can request different types of analysis to be performed on the assets. In addition to the functionality detailed below, Cloudinary has a number of add-ons that enable various types of analysis.
| Page | Description |
|---|---|
| Image quality analysis | Determine the quality of images uploaded to your product environment. |
| Accessibility analysis | Analyze your images for accessibility and select the best images for people with color blindness. |
| Semantic data extraction | Extract additional semantic data from an image such as media metadata, pHash, ETag, color histogram, and more. |
| Media Inspector browser extension | Analyze your delivered images and videos in the browser to see the effect of the transformations and optimizations applied to the assets. |
| Analyze API (Beta) | A method for analyzing any external asset and returning details based on the type of analysis requested. |
- Evaluating and modifying upload parameters can be useful for conditionally adding tags, contextual metadata, structured metadata or eager transformations depending on specific criteria of the uploaded file. Your code will be evaluated before the file itself is uploaded.
-
Executing an update script can be useful for conditionally adding tags, contextual metadata, and structured metadata, depending on the results of using the
detectionparameter on upload. Your code will be evaluated after the file itself is uploaded.
Sample project: Computer vision demo
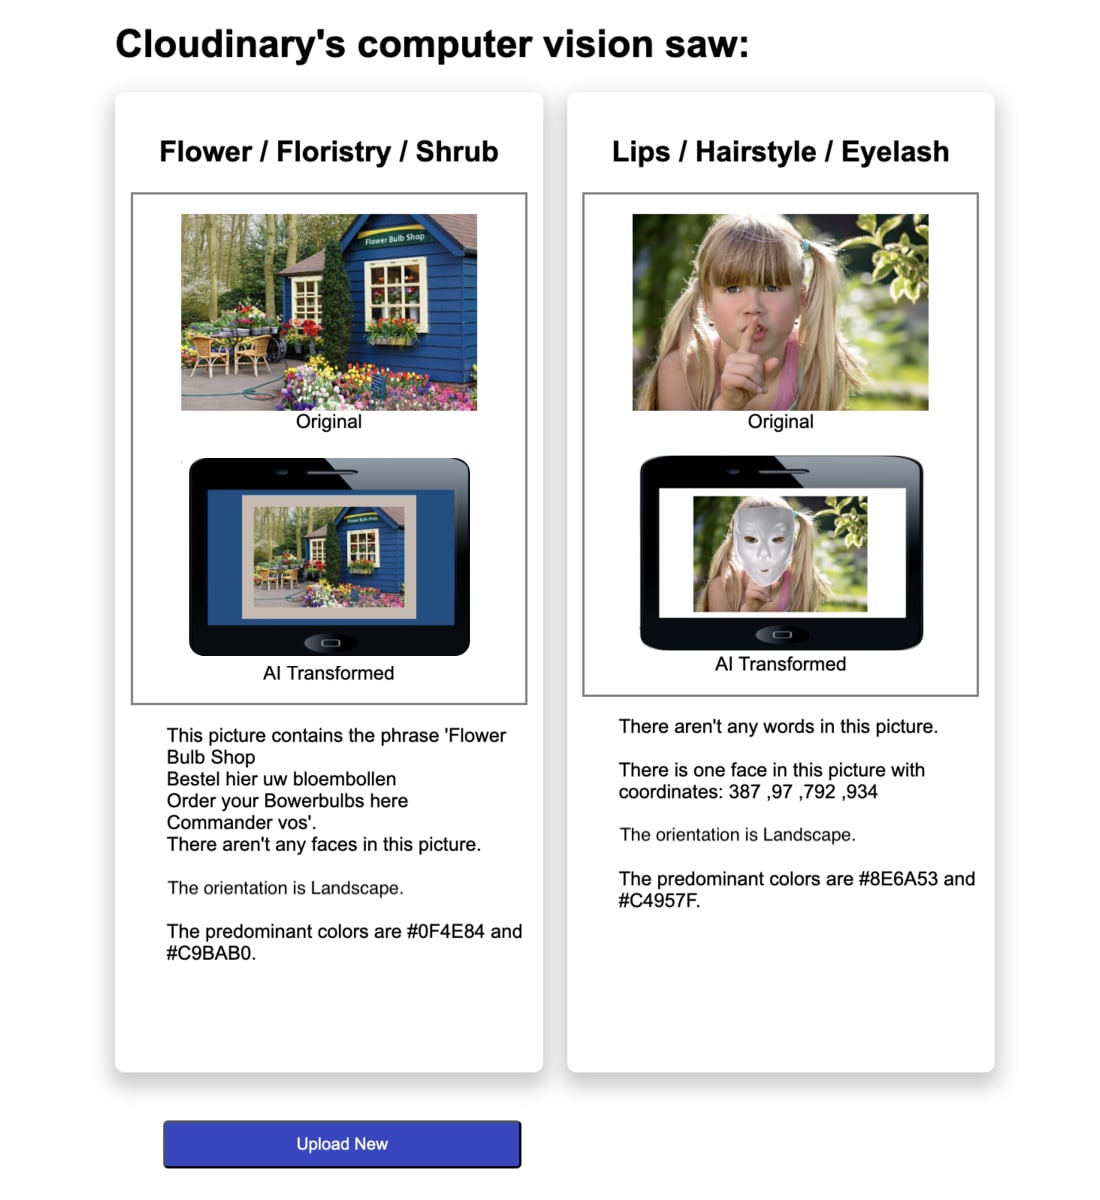
This sample project demonstrates using Cloudinary's analysis capabilities. The user can upload up to 3 images. Cloudinary analyzes the images and returns automatically transformed results along with a description. You'll see a message for images that don't pass moderation.
The image below shows sample output: two uploaded images analyzed for detected text, faces, orientation, and predominant colors. The transformations apply face masks, add borders based on the predominant color, and use a phone image as an underlay.
Setup instructions (after cloning from GitHub)
-
Enable required add-ons
Go to the Add-ons page of the Console Settings and enable:
- Google Auto Tagging
- OCR Text Detection and Extraction
- Amazon Rekognition AI Moderation
-
Create a virtual environment
-
Activate your virtual environment
-
Install dependencies
-
Create a
.envfileAdd the following environment variable:
-
Replace placeholders
Update the
.envfile with your Cloudinary credentials, which you can find in the API Keys page of the Console Settings. -
Update the
cloudNamevalueIn
index.html, replace the value forcloudNamewith your Cloudinary cloud name. -
(First-time only) Create the upload preset
In
demo.py, uncomment the following block inside theindex()route the first time you run the app:NoteRemember to replace the comments after the first run. -
Run the Flask app
Go to GitHub to try it out:
Error
Rate this page:
