Kotlin media transformations
Last updated: Feb-20-2026
After you or your users have uploaded media assets to Cloudinary, you can deliver them via dynamic URLs. You can include instructions in your dynamic URLs that tell Cloudinary to transform your assets using a set of transformation actions. All transformations are performed automatically in the cloud and your transformed assets are automatically optimized before they are routed through a fast CDN to the end user for optimal user experience.
For example, you can resize and crop, add overlay images or concatenate videos, blur or pixelate faces, apply a large variety of special effects and filters, and apply settings to optimize your media and to deliver them responsively.
Cloudinary's Kotlin SDK simplifies the generation of transformation URLs for easy embedding of assets in your Kotlin application.
Thanks for your time!
Syntax Overview
The Kotlin SDK provides a simpler and more enhanced developer experience when compared with existing Cloudinary SDKs:
- The SDK supports an action-based syntax, designed to make building delivery URLs and transformations more logical and discoverable. It also, makes use of Type-Safe Builders to create a Cloudinary DSL layer. The transformation syntax is therefore simpler and more human-readable when compared with the existing Java or Android SDKs.
- When compiled to the final delivery URL, each action represents a different transformation component.
- Allows discovering the available options from within your development environment, and ensures that only options that are supported can be used together.
-
Action Group: An
ActionGrouprepresents a directive to Cloudinary on how to transform a specific aspect of an asset (e.g.,effectorresize). -
Action: The
Actiondefines the specific Action to apply (e.g.,effect(Effect.blur{})orresize(Resize.crop{})). -
Qualifier:
Qualifiersfurther define how to apply an Action (e.g.,tolerancequalifies theadjust(Adjust.replaceColor{})Action with a value oftolerance(17)). Some Actions also have a required qualifier which is then given as part of the action method (e.g.,adjust(Adjust.replaceColor(Color.GREEN){})) to specify the color to apply).
The output of each Action is a complete transformation component (separated by slashes) in the URL. If there are multiple actions, then each transformation component is separated by slashes in the URL. For example, the syntax example above would generate a URL similar to the following:
Deliver and transform images
You can deliver your media using direct URL-building directives, and then add them to your image or video view.
Direct URL building
To build an image or video URL, use the cloudinary.image and cloudinary.video helper methods. You can pass in your transformations as shown in the examples below:
Downloading Images
If you're developing an Android app using the Kotlin SDK, the dynamic URL generated can be easily used with most of the popular download libraries. For example:
Building transformations
Building transformations with the Cloudinary Kotlin SDK is made simpler thanks to new "builders" and Cloudinary's DSL.
Here's a simple example of creating a new transformation:
This transformation can then be applied when building a URL:
In the above example resize and effect are "Actions", scale and Effect.sepia() are the "ActionTypes" and width(150) and height(150) are the "qualifiers".
Combining transformations
Cloudinary supports powerful transformations. You can even combine multiple transformations together as part of a single transformation request, e.g. crop an image and add a border. In certain cases you may want to perform additional transformations on the result of the previous transformation request.
To support multiple transformations in a transformation URL, you can include multiple transformation components, each separated by a '/'. Each transformation component is applied to the result of the previous one. In Kotlin, applying multiple transformations is achieved by simply adding the next Action to the transformation. The following example first crops the original image to a specific set of custom coordinates and then transforms the result so it fills a 130x100 rectangle:
The following example applies 4 chained transformations: custom cropping to 300x200, fill to 130x100, rotate by 20 degrees and then scale to 50%:
In general, when using an SDK, you will probably take advantage of the SDK parameter names for improved readability and maintenance of your code. However, you can also optionally add any transformation in URL syntax using the addTransformation method.
For example:
For more information on image transformations, see Apply common image transformations.
Apply common image transformations
This section provides an overview and examples of the following commonly used image transformation features, along with links to more detailed documentation on these features:
- Resizing and cropping
- Converting to another image format
- Applying image effects and filters
- Adding text and image overlays
- Image optimizations
Keep in mind that this section is only intended to introduce you to the basics of using image transformations with Kotlin.
For comprehensive explanations of how to implement a wide variety of transformations, see Image transformations. For a full list of all supported image transformations and their usage, see the Transformation URL API Reference.
Resizing and cropping
There are a variety of different ways to resize and/or crop your images, and to control the area of the image that is preserved during a crop.
You can also use automatic gravity to determine what to keep in the crop automatically.
For details on all resizing and cropping options, see resizing and cropping images.
Converting to another image format
You can deliver any image uploaded to Cloudinary in essentially any image format. There are three main ways to convert and deliver in another format:
- Specify the image's public ID with the desired extension.
- Explicitly set the desired format using the
fetch_formatparameter. - Use the
autofetch_format to instruct Cloudinary to deliver the image in the most optimized format for each browser that requests it.
For example:
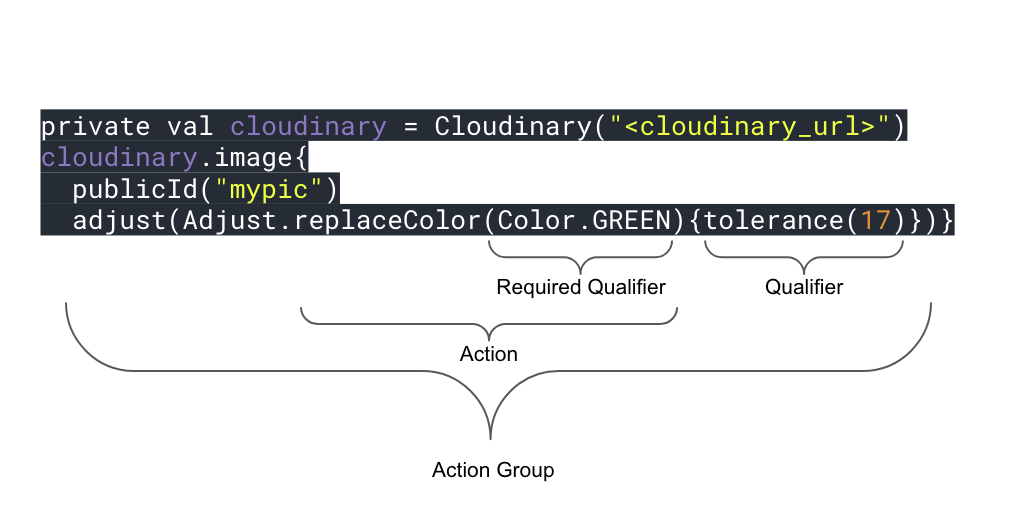
1. Deliver a .jpg file in .png format:
2. Let Cloudinary select the optimal format for each browser. For example, in Chrome, this image may deliver in .avif or .webp format (depending on your product environment setup):
The above code generates a URL with the f_auto parameter:
For more details, see:
- Delivering images in different formats
- Automatic format selection (f_auto)
- Tips and considerations for using f_auto
Applying image effects and filters
You can select from a large selection of image effects, enhancements, and filters to apply to your images. The available effects include a variety of color balance and level effects, tinting, blurring, pixelating, sharpening, automatic improvement effects, artistic filters, image and text overlays, distortion and shape changing effects, outlines, backgrounds, shadows, and more.
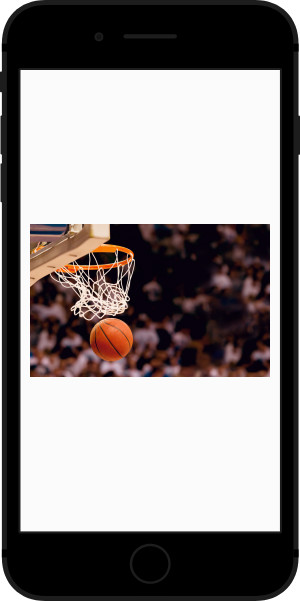
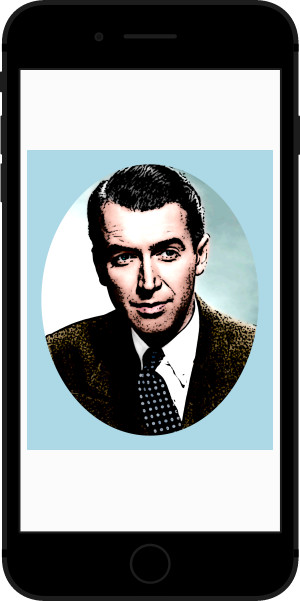
For example, the code below applies a cartoonify effect, rounding corners effect, and background color effect (and then crops and pads the image down to a height of 300 pixels).
For more details on the available image effects and filters, see Visual image effects and enhancements.
Adding text and image overlays
You can add images and text as overlays on your main image. You can apply the same types of transformations on your overlay images as you can with any image and you can use gravity settings or x and y coordinates to control the location of the overlays. You can also apply a variety of transformations on text, such as color, font, size, rotation, and more.
For example, the code below overlays a couple's photo on a mug image. The overlay photo is cropped using face detection with adjusted color saturation and a vignette effect applied. The word love is added in a pink, fancy font and rotated to fit the design. A balloon graphic is also added. Additionally, the final image is cropped and the corners are rounded.
Image optimizations
By default, Cloudinary automatically performs certain optimizations on all transformed images. There are also a number of additional features that enable you to further optimize the images you use in your application. These include optimizations to image quality, format, and size, among others.
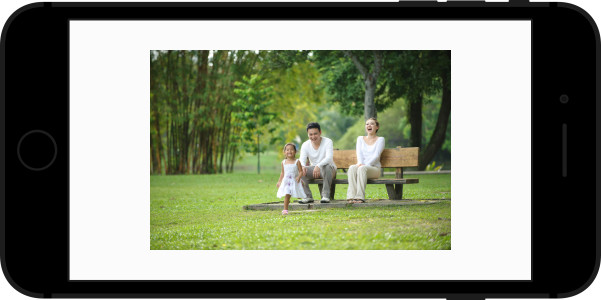
For example, you can use the auto value for the fetch_format and quality attributes to automatically deliver the image in the format and quality that minimize file size while meeting the required quality level. Below, these two parameters are applied, resulting in a 50% file size reduction (1.4MB vs. 784KB) with no visible change in quality.
For an in-depth review of the many ways you can optimize your images, see Image optimization.
 Ask AI


