Android quick start
Last updated: Feb-17-2026
This quick start lets you get an end-to-end implementation up and running using the Android SDK in 10 minutes or less.
Prerequisites
1. Set up and configure
You need to complete some initial project set up and configuration. The quick start assumes you're using Android Studio as your IDE.
Create a new Empty Views Activity project
Create a new app project and select Empty Views Activity from the list of templates. Give your app a name, update the package name to com.cloudinary.cloudinaryquickstart, and select Java as your language.
Add the Cloudinary Android SDK and other modules
Add the dependencies for the Cloudinary SDK, Glide modules, and navigation dependencies to your build.gradle.kts file in the app directory. You also need to set viewBinding to true.
In the dependencies section of your file, add the following:
In the Android section of your file, add the following:
Import the dependencies
In your MainActivity class, add the import statements for the Cloudinary SDK and other modules:
Configure Cloudinary
Update your MainActivity class, defining your cloud name, creating an initCloudinary method and initializing it in the onCreate method.
Update layout views and manifest
In your resource directory, under layouts, open the activity_main.xml view in code view. Copy and paste the following code, replacing the existing contents of the file:
In the same directory, create a new file called content_main.xml and add the following XML code:
The above layouts define where to render the uploaded and transformed images in the view.
In AndroidManifest.xml, copy and paste the following code:
2. Upload an image
Before adding your upload code:
- Download the following image and add it to the
drawableresource folder. - Create an unsigned upload preset (you can use the default settings) or use an existing unsigned preset. See the upload presets guide for more information.
Now copy and paste the code below which:
- Creates a variable for your unsigned upload preset (update this to the name of your newly created preset).
- Defines and inflates view binding for the activity.
- Creates an
uploadImagemethod.
Update MainActivity.java making sure to replace any variable placeholders:
3. Transform an image
Copy and paste the following code, which:
- Additionally defines a public ID of an image to transform (you can use a sample from your account, such as
cld-sample-5) - Adds a variable for your URL.
- Adds a method for generating a Cloudinary URL and setting the image view.
- Sets up the content view and toolbar.
Update MainActivity.java making sure to replace any variable placeholders:
4. Run your code
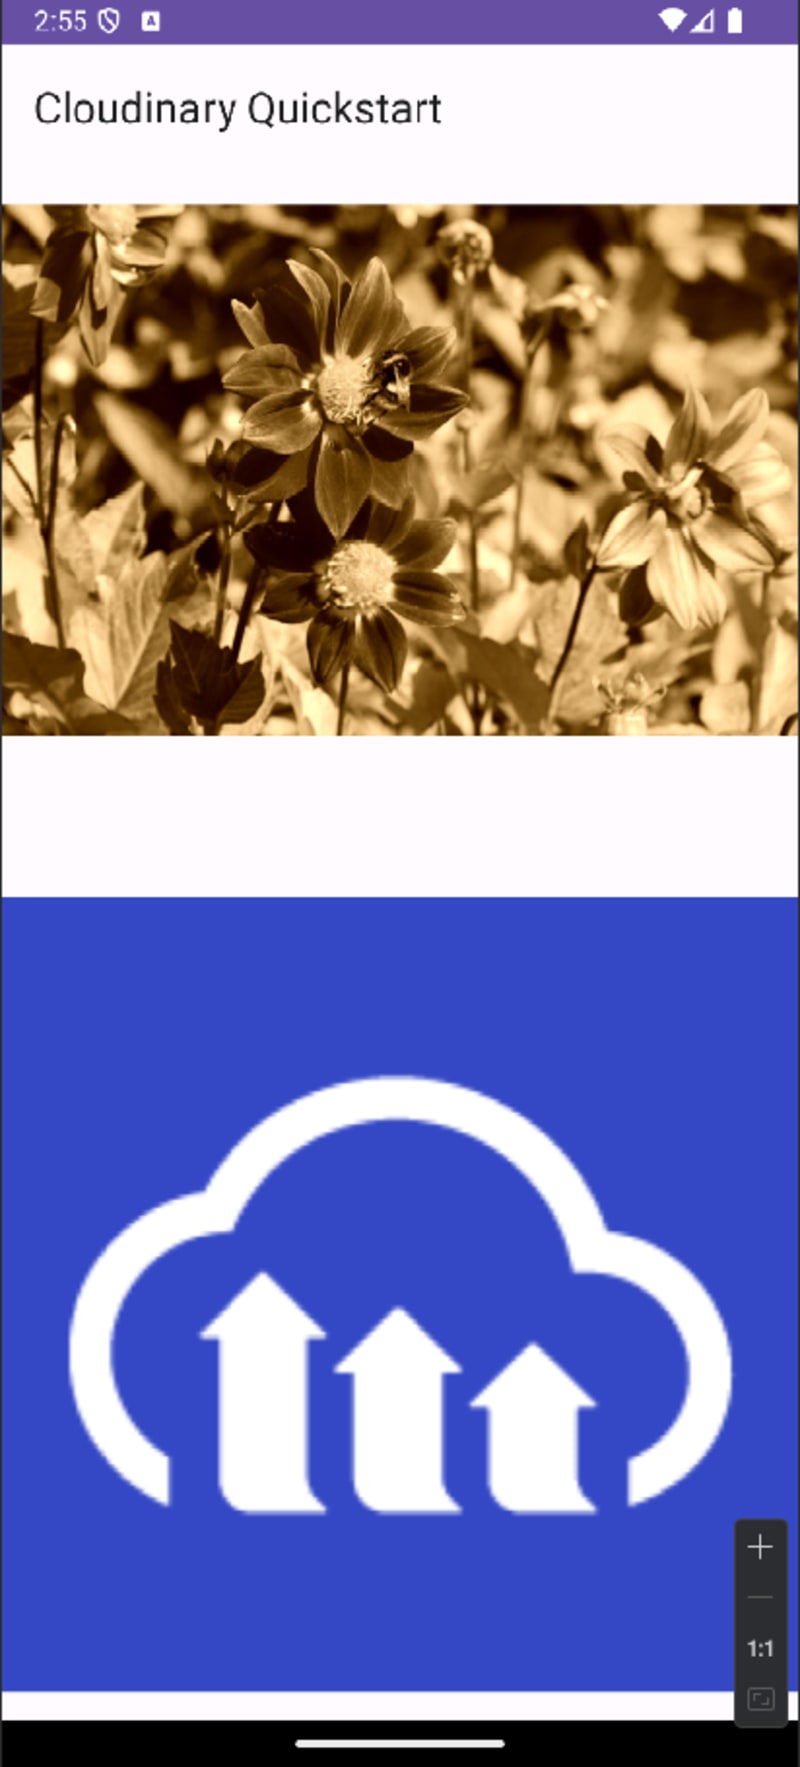
Run your app. You should see your two images, one being the Cloudinary logo that you uploaded and the other a transformed image for the public ID that you set.
View the completed code
You can find the full code example for this on GitHub.
Next steps
- Learn more about the Android SDK by visiting the other pages in this SDK guide.
- Get comprehensive details about Cloudinary features and capabilities:
- Upload guide: Provides details and examples of the upload options.
- Image transformations guide: Provides details and examples of the transformations you can apply to image assets.
- Video transformations guide: Provides details and examples of the transformations you can apply to video assets.
- Transformation URL API Reference: Provides details and examples of all available transformation parameters.
- Admin API guide: Provides details and examples of the methods available for managing and organizing your media assets.
Take a look at the Android sample project for a more comprehensive example using the Cloudinary Android SDK.
 Ask AI
