Portals
Last updated: Feb-20-2026
Cloudinary Portals allow you to securely share, curate, and track the usage of your media assets. You can tailor your portals to external stakeholders like partners, clients, or press, providing controlled access to brand resources, approved content, and more.
Enterprise plans:
- Portals is a premium offering for our Assets product. Availability depends on your account setup and incurs an additional cost. If Portals isn't yet enabled for your account and you'd like to activate it, please contact your Customer Success Manager.
Free plan:
- This feature isn’t included in the Media Library available with the Assets Free plan, which offers basic management. It's part of the Media Library for Assets Enterprise plans.
- To learn more about the features available in the Assets Free plan and how they can support development workflows, see Media Library for Developers.
- For upgrade options or more information, contact us.
Overview
Cloudinary Portals provide a streamlined way to share visual assets with external parties. Assets users with the Master admin, Technical admin, Admin, and Media Library admin roles can easily curate and organize media in a custom-branded portal, with a no-code setup, secure access controls, and full customization options.
Enterprise plans:
- Portals is available to Assets and Cloudinary Image and Video (Programmable Media) Enterprise plans at an additional cost. If Portals isn't yet enabled for your account and you'd like to activate it, please contact your Customer Success Manager.
Free plan:
- This feature is unavailable on the Assets Free plan. For more options and information, contact us.
Key features
- Secure asset sharing: Manage permissions to control access to assets, receive notifications for access requests, and track usage.
- No-code portal setup: Easily create and style a portal using a drag-and-drop interface.
- Customizable design: Tailor the portal with custom fonts, colors, buttons, and more.
- Advanced search and filtering: Ensure users can easily find and download the assets they need.
- Metadata exposure: Display metadata for assets to provide context and details to users.
-
External uploader: Allow third-party stakeholders to upload assets directly to your product environment using the Upload Widget, embedded within the portal. You can configure the external uploader to:
- Automatically apply auto-tagging
- Assign an identifying tag to all assets uploaded via the portal
- Analytics: Review metrics such as visit trends over time, top pages, top assets, and frequently used search terms on the Dashboard to support data-driven decision-making.
Watch an introductory video
Watch a video tutorial about what Cloudinary Portals has to offer.
This video is brought to you by Cloudinary's video player - embed your own!
Use the controls to set the playback speed, navigate to chapters of interest and select subtitles in your preferred language.
Create Your Portal
Watch the videos inside the Portals feature for full instructions on how to implement every stage of setup and customization.
Setup
Setting up your portals involves following a wizard for step-by-step setup, including the following steps.
Select a template: When setting up your portal, start by selecting a portal template. Each template comes with built-in features such as asset search, detailed pages, and options for authenticating users. Portals are equipped to support asset collections, share links, and contain unique content tailored to specific use cases.
-
Connect to Cloudinary: Set Cloudinary as your data source. To connect to Cloudinary, enter your cloud name, API key and API secret. As an administrator, you can find these credentials by clicking the settings icon
 on the left side-bar, then selecting API Keys from the left-hand menu.
 Once you're connected, you can enter a folder or folder path where the assets in the portal will come from. You must first start with a forward slash. If you want to enter a hierarchy of folders, separate them with forward slashes, for example: /clothing/men/shirts.
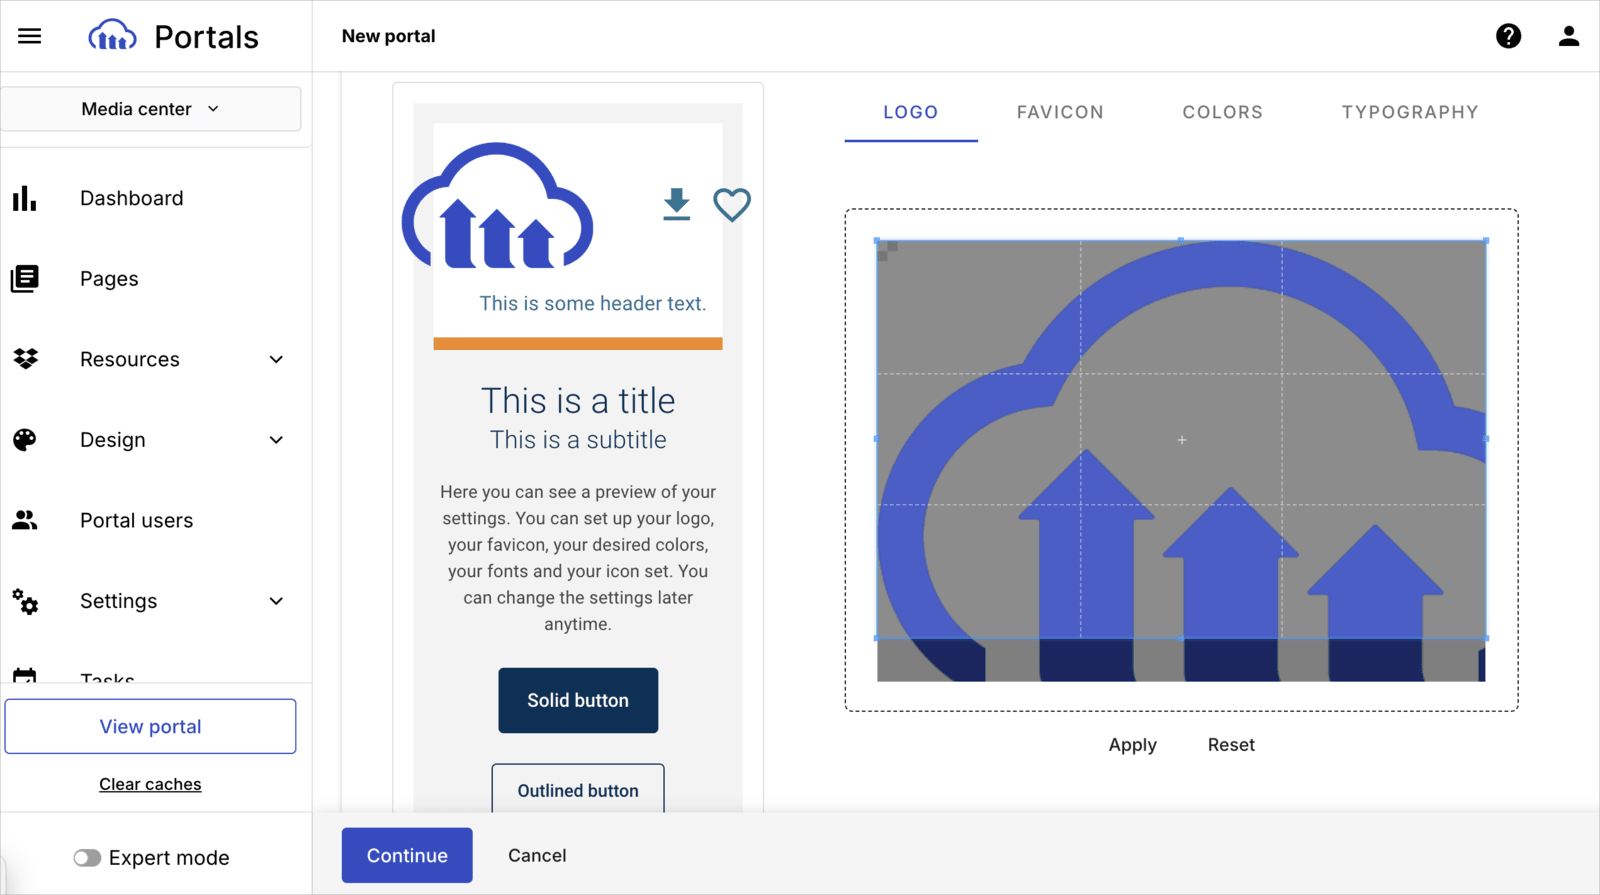
Set up basic design: Including uploading a logo and favicon, and selecting colors and typography.
Additional settings: Including naming your portal, designating available and default languages, and assigning a portal subdomain.
Save and share: After confirming your settings, save your portal. You now have a fully functional portal, ready to share assets securely with external parties.
Customize
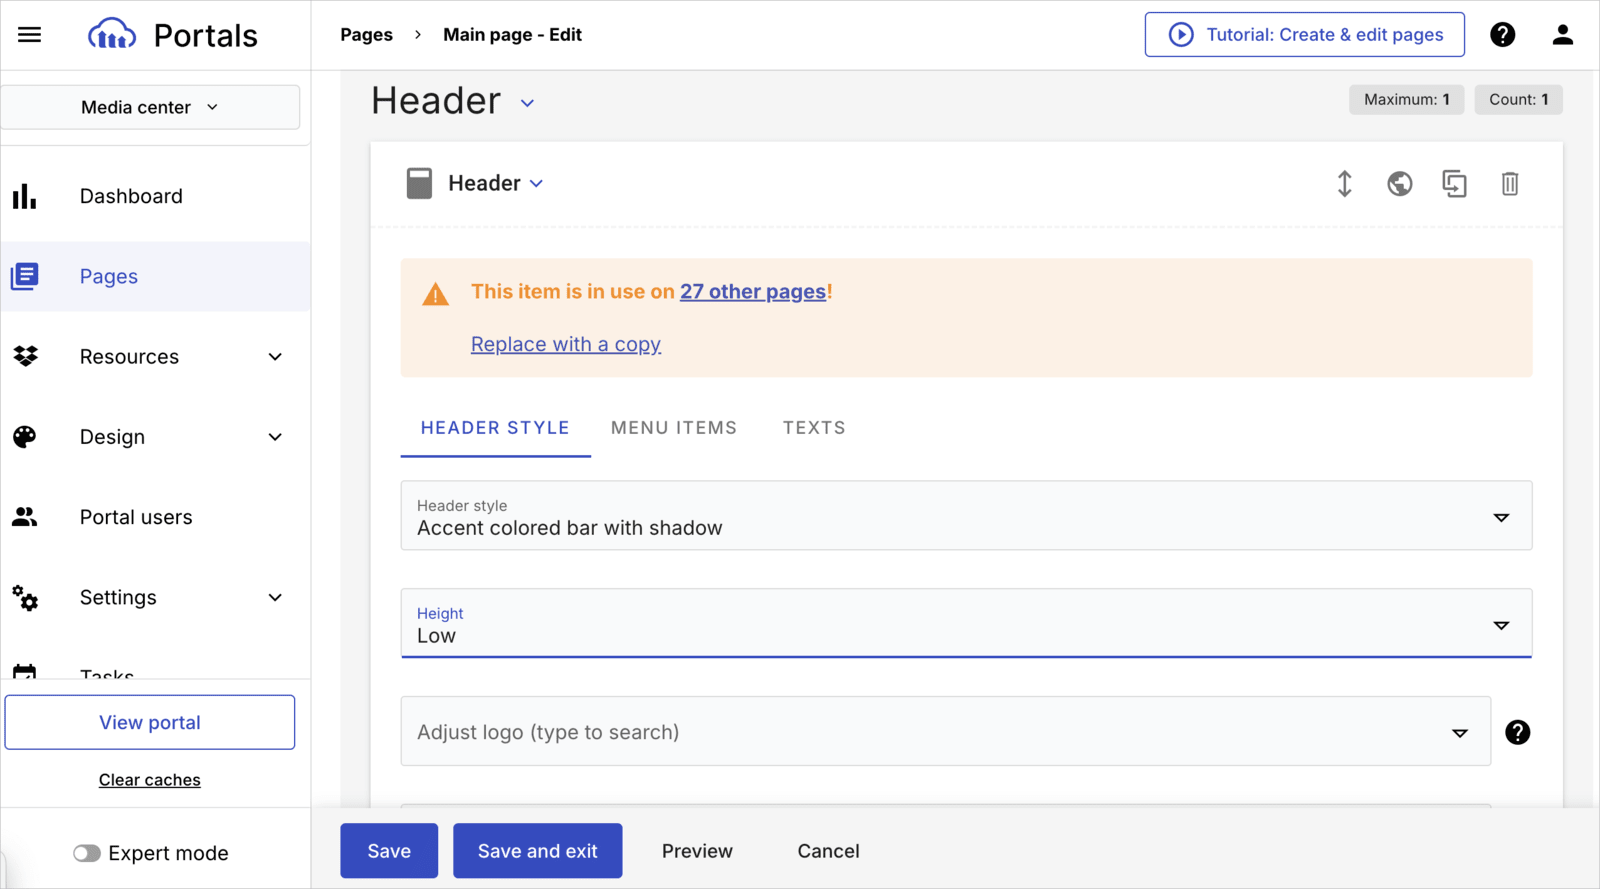
Every portal comes with default pages such as a main page, and a detailed view and search page, request for access, and more.
To customize your portal, you can:
- Add new pages to meet your specific use case (e.g., media center, brand guidelines).
- Remove pages.
- Edit content: Update assets in your portals or modify metadata visibility.
- Configure a data source: Specify which assets are indexed based on their attributes and define the attributes used for searching and sorting.
- Adjust permissions: Modify who can access which content at any time.
 Ask AI


