There was a time when it was not a punishable offense to click on a web page and wait several minutes for a full page reload. In fact, you could prepare a cup of coffee and still see your web page reloading when you came back. AJAX changed everything. The ability to communicate with a remote web server for a page reload revolutionized how web applications are built.
In this post, I’ll show you two ways of handling file uploads with AJAX:
- The barebones AJAX way
- Using Cloudinary’s cloud service
Cloudinary is an end-to-end solution for all your image and video-related needs, which enables you to securely upload images or any other file at any scale from any source. Cloudinary also provides an API for fast upload directly from your users’ browsers or mobile apps. Check out Cloudinary’s documentation for more information on how to integrate it in your apps.
First, let’s look at how to handle file uploads with AJAX, the barebones way. We need:
1. The HTML Form
You need to build up an HTML form that will contain the fields the user will interact with to upload a file. Create an index.html file in your root directory and the following code:
<!DOCTYPE html>
<html lang="en">
<head>
    <meta charset="UTF-8">
    <title>File Upload with AJAX</title>
</head>
<body>
    <form id="file-form" action="fileUpload.php" method="post" enctype="multipart/form-data">
        Upload a File:
        <input type="file" id="myfile" name="myfile">
        <input type="submit" id="submit" name="submit" value="Upload File Now" >
    </form>

    <p id="status"></p>
    <script type="text/javascript" src="fileUpload.js"></script>
</body>
</html>
In the code above, we have a form with one input field and a submit button. Now, the form tag has an action attribute that points to the script that will take care of the actual upload process. It also has a method attribute that specifies the kind of operation this form will undertake, which is a POST action.
The value of the enctype attribute is very important. It determines the content type that the form submits. If we were not dealing with file uploads, then we would not specify the enctype attribute on the form in most cases.
The two fields also have an id attribute. This attribute will enable us to handle the form elements with JavaScript.
2. JavaScript Upload Script Using AJAX
Create a file in the root directory, fileUpload.js and add this code to it like so:
fileUpload.js
(function(){
    var form = document.getElementById('file-form');
    var fileSelect = document.getElementById('myfile');
    var uploadButton = document.getElementById('submit');
    var statusDiv = document.getElementById('status');

    form.onsubmit = function(event) {
        event.preventDefault();

        statusDiv.innerHTML = 'Uploading.......';

        // Get the files from the input
        var files = fileSelect.files;

        // Create a new FormData object.
        var formData = new FormData();

        //Grab just one file, since we are not allowing multiple file uploads
        var file = files[0];

        //Check the file type
        if (!file.type.match('image.*')) {
            statusDiv.innerHTML = 'This file is not an image. Sorry, it cannot be uploaded. Try again with a valid image.';
            return;
        }

        if (file.size >= 2000000 ) {
            statusDiv.innerHTML = 'This file is larger than 2MB. Sorry, it cannot be uploaded.';
            return;
        }

         // Add the file to the request.
        formData.append('myfile', file, file.name);

        // Set up the AJAX request.
        var xhr = new XMLHttpRequest();

        // Open the connection.
        xhr.open('POST', '/fileUpload.php', true);


        // Set up a handler for when the request finishes.
        xhr.onload = function () {
          if (xhr.status === 200) {
            statusDiv.innerHTML = 'The file uploaded successfully.......';
          } else {
            statusDiv.innerHTML = 'An error occurred while uploading the file. Try again';
          }
        };

        // Send the Data.
        xhr.send(formData);
    }
})();
Let’s analyze this piece of code above. First thing we did was grab all the elements, the form, file input element and status div like so:
var form = document.getElementById('file-form');
var fileSelect = document.getElementById('myfile');
var statusDiv = document.getElementById('status');
The next thing we need is to call the form’s onsubmit event. When the user submits the form, this is the event that gets fired.
Now that we have attached an event handler to the form, we need to get the file that the user selects and, most importantly, let the user know that something is going on behind the scenes like so:
...

 statusDiv.innerHTML = 'Uploading.......';

  // Get the files from the input
  var files = fileSelect.files;

 // Grab just one file, since we are not allowing multiple file uploads
  var file = files[0];

...
Moving forward, we create a form object, validate the size and type of file that the user selects, and also add the file to the form object.
// Create a new FormData object.
        var formData = new FormData();


        //Check the file type
        if (!file.type.match('image.*')) {
            statusDiv.innerHTML = 'This file is not an image. Sorry, it can’t be uploaded. Try again with a valid image.';
            return;
        }

        if (file.size >= 2000000 ) {
            statusDiv.innerHTML = 'This file is larger than 2MB. Sorry, it can’t be uploaded.';
            return;
        }

         // Add the file to the request.
        formData.append('myfile', file, file.name);
Finally, we set up the AJAX request, open a connection and listen on the onload event of the xhr object.
...
// Set up the AJAX request.
var xhr = new XMLHttpRequest();

// Open the connection.
xhr.open('POST', '/fileUpload.php', true);


// Set up a handler for when the request finishes.
xhr.onload = function () {
  if (xhr.status === 200) {
    statusDiv.innerHTML = 'The file has been Uploaded Successfully.......';
  } else {
    statusDiv.innerHTML = 'An error occurred while uploading the file...Try again';
  }
};

// Send the Data.
xhr.send(formData);
Here, we are making a post request to fileUpload.php. Yes, we still need to handle and process the file on the backend. The AJAX request submits the files to the backend. Now, it’s time for the backend to process it.
Note: There are several edge cases you should consider handling if you want to use this code in production. You will want to require more checks to ensure safe files are posted to your backend.
3. PHP Upload Script
Since we are focused on file upload via AJAX request in this post, I’ll simply place the PHP code required for upload without explanation.
<?php
    $currentDir = getcwd();
    $uploadDirectory = "/uploads/";

    $errors = []; // Store all foreseen and unforseen errors here

    $fileExtensions = ['jpeg','jpg','png']; // Get all the file extensions

    $fileName = $_FILES['myfile']['name'];
    $fileSize = $_FILES['myfile']['size'];
    $fileTmpName  = $_FILES['myfile']['tmp_name'];
    $fileType = $_FILES['myfile']['type'];
    $fileExtension = strtolower(end(explode('.',$fileName)));

    $uploadPath = $currentDir . $uploadDirectory . basename($fileName);

    echo $uploadPath;

    if (isset($fileName)) {

        if (! in_array($fileExtension,$fileExtensions)) {
            $errors[] = "This file extension is not allowed. Please upload a JPEG or PNG file";
        }

        if ($fileSize > 2000000) {
            $errors[] = "This file is more than 2MB. Sorry, it has to be less than or equal to 2MB";
        }

        if (empty($errors)) {
            $didUpload = move_uploaded_file($fileTmpName, $uploadPath);

            if ($didUpload) {
                echo "The file " . basename($fileName) . " has been uploaded";
            } else {
                echo "An error occurred somewhere. Try again or contact the admin";
            }
        } else {
            foreach ($errors as $error) {
                echo $error . "These are the errors" . "\n";
            }
        }
    }


?>
Note: Ensure you are running a PHP server like so:

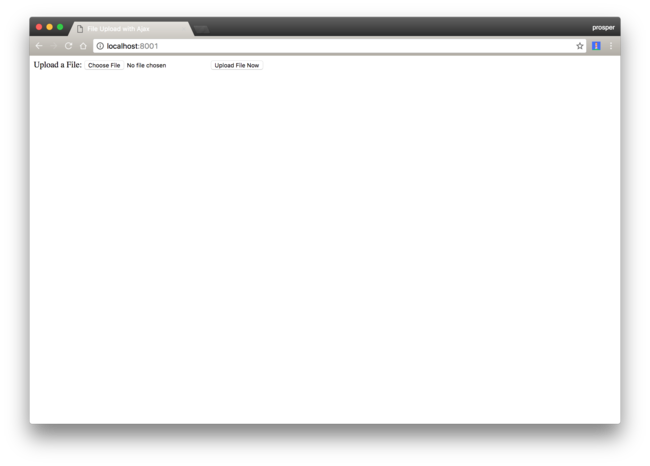
Run the application. It should come up like so:

Index Page
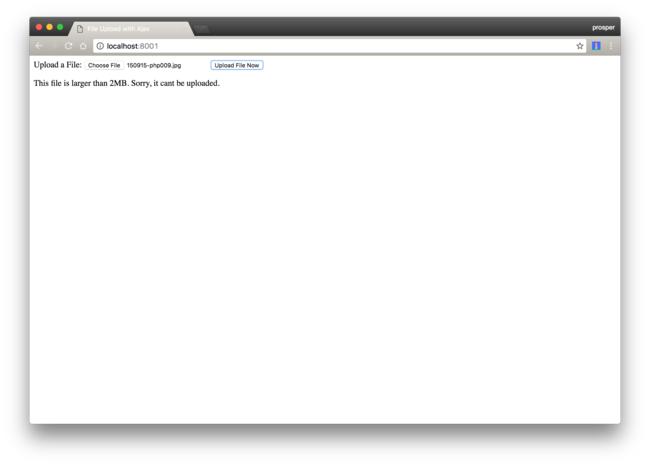
Try uploading a file that is higher than 2MB. You should get this:

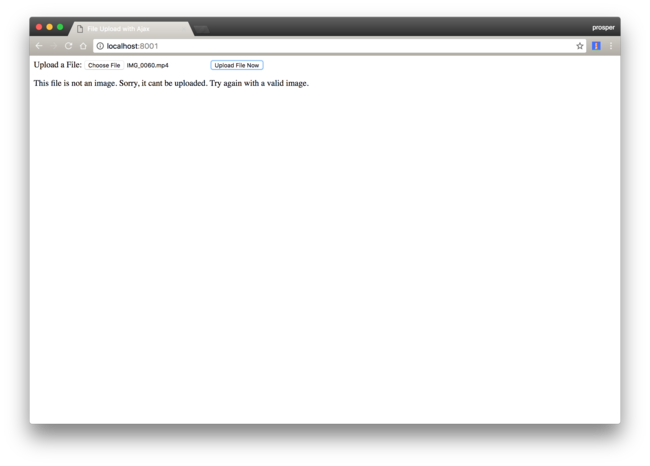
Try uploading a file that is not an image. You should get this:

We checked for all these in our code, remember? Nice!
Also, it’s recommended that you upload your files to a dedicated file server, not just your web application server. Check out the source code for this tutorial.
Handling File Upload With Cloudinary
Cloudinary provides an API for uploading images and any other kind of files to the cloud. These files are safely stored in the cloud with secure backups and revision history, as opposed to the sample above where the file is uploaded directly to the web server and the server stores the file.
Cloudinary provides a free tier in which you can store up to 75,000 images and videos with managed storage of 2GB. In this free tier, you also receive 7,500 monthly transformations and 5GB monthly net viewing bandwidth.
In a situation where you need to store the files in the cloud, this would be the typical scenario without Cloudinary:
- Upload file from browser.
- Browser sends the file to the web server; and
- The web server then uploads the file to the cloud.
While this approach works, you can actually do a direct upload that eliminates the possibilities of redundant uploads. With Cloudinary, direct file upload to the cloud is painless.
The process is this simple.
1. Sign up for a Cloudinary account

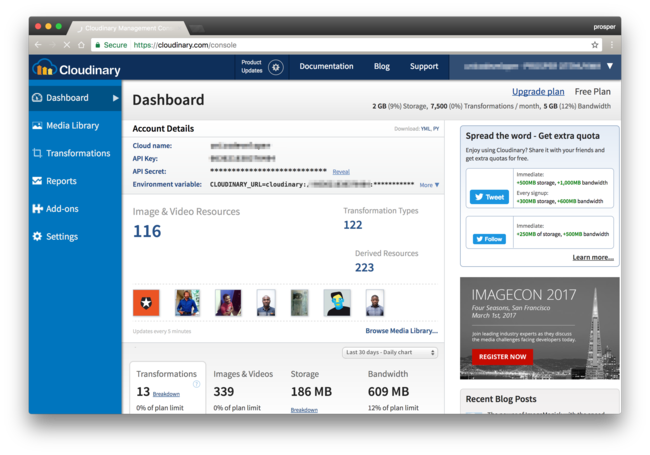
The Cloudinary dashboard ...Your cloud name, API key, and API secret are key valuables to interact with Cloudinary functionalities.
After you set up a Cloudinary account, you can create an upload preset. Upload presets enable you to centrally define a set of image upload options, instead of specifying them in each upload call. We will use the preset when making an upload request.
2. Fetch the Cloudinary JS library
Cloudinary provides JavaScript plugins that make image upload to the Cloudinary server very easy. Include them like so in your index.html file:
...
 <script src='https://cdn.jsdelivr.net/jquery.cloudinary/1.0.18/jquery.cloudinary.js' type='text/javascript'></script>
 <script src="//widget.cloudinary.com/global/all.js" type="text/javascript"></script>
 <script src="/script.js"></script>
...
3. Direct Upload
Replace the content of fileUpload.js with this:
$(function() {
    // Configure Cloudinary
    // with credentials available on
    // your Cloudinary account dashboard
    $.cloudinary.config({ cloud_name: 'YOUR_CLOUD_NAME', api_key: 'YOUR_API_KEY'});

    // Upload button
    var uploadButton = $('#submit');

    // Upload button event
    uploadButton.on('click', function(e){
        // Initiate upload
        cloudinary.openUploadWidget({ cloud_name: 'YOUR_CLOUD_NAME', upload_preset: 'YOUR_UPLOAD_PRESET', tags: ['cgal']},
        function(error, result) {
            if(error) console.log(error);
            // If NO error, log image data to console
            var id = result[0].public_id;
            console.log(processImage(id));
        });
    });
})

function processImage(id) {
    var options = {
        client_hints: true,
    };
    return '<img src="'+ $.cloudinary.url(id, options) +'" style="width: 100%; height: auto"/>';
}
It’s that simple. Make sure you replace your cloud_name, upload_preset and api_key with the right values from your Cloudinary dashboard.
Conclusion
We have successfully covered how to handle file uploads with AJAX. Implementation of AJAX can be very tricky, but with the Cloudinary jQuery library, you can implement it easily in your application.
It is also highly recommended to offload files to dedicated cloud storage services, like Cloudinary, to solve the issue of latency and enable effective storage. Let Cloudinary handle the complexities of serving the files securely to your web app.
 |
Prosper Otemuyiwa is a Food Ninja, Open Source Advocate & Self-acclaimed Developer Evangelist. |


